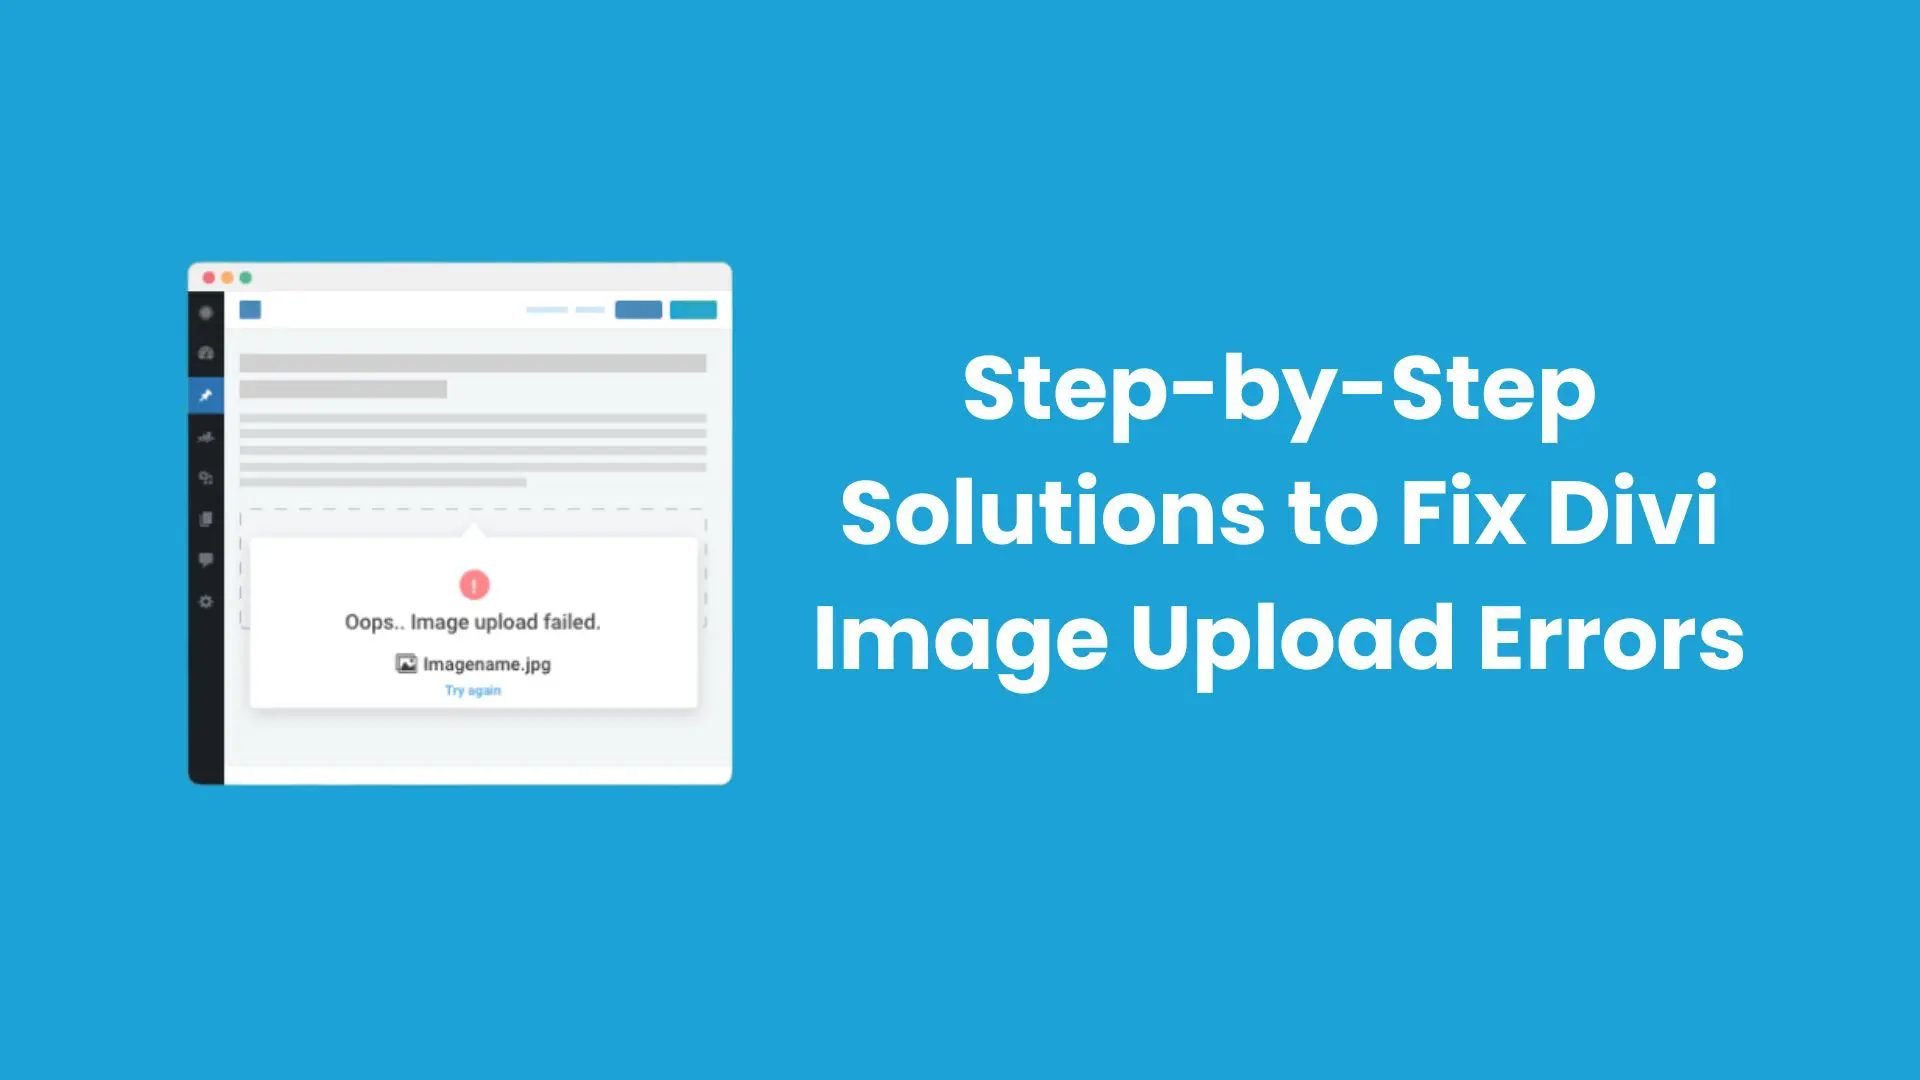
Image upload errors in Divi can slow down your work and make website updates difficult. These issues may happen because of server settings, file problems, or WordPress configuration.
In this guide, we will show you simple steps to fix common Divi image upload errors. You can follow these solutions one by one and get back to designing your website smoothly.
1. Check File Permissions
Improper file permissions on your server can block image uploads.
- Access File Manager or FTP: Log into your hosting account and open the File Manager or use an FTP client like FileZilla.
- Navigate to the uploads Folder: Find the wp-content/uploads directory where WordPress stores media files.
- Set Correct Permissions: Change folder permissions to 755 (or 775 if necessary) and file permissions to 644. This ensures WordPress can write and store files correctly.
2. Increase File Size Limits
If your image exceeds the server’s upload limit, increase the maximum file size allowed.
- Edit the .htaccess File:
Add these lines to your .htaccess file in the root directory:
php_value upload_max_filesize 64M
php_value post_max_size 64M
php_value memory_limit 128M
php_value max_execution_time 300
php_value max_input_time 300 - Ask Your Host for Help: Contact your hosting provider to increase the limits if you’re unsure about making changes.
3. Verify the File Format
Divi supports standard image formats like JPEG, PNG, and GIF. Incompatible formats can lead to errors.
- Convert the File: Use image editing tools like Photoshop or an online converter to save your image in a supported format.
- Rename the File: Avoid special characters, spaces, or long filenames. For example, rename Imagename #1.jpg to Imagename.jpg.
4. Increase PHP Memory Limit
A low PHP memory limit can prevent WordPress from processing large images.
- Edit wp-config.php:
Add this line to increase the PHP memory limit:
define( 'WP_MEMORY_LIMIT', '256M' ); - Verify Changes: Refresh your site and try uploading the image again.
5. Clear Cache and Browser Cookies
Cached data can sometimes block proper uploads.
- Clear Your Browser Cache: Go to your browser settings and clear cached files and cookies.
- Try Another Browser: Test the upload in a different browser to rule out browser-specific issues.
6. Temporarily Deactivate Plugins
Plugins can conflict with Divi’s functionality, causing upload errors.
- Deactivate All Plugins: Go to Plugins > Installed Plugins and deactivate all plugins.
- Test the Upload: If the image uploads successfully, reactivate plugins one by one to identify the conflicting plugin.
7. Update Divi and WordPress
Outdated versions of Divi or WordPress can lead to compatibility issues.
- Update Divi: Go to Divi > Theme Options > Updates and ensure you’re running the latest version.
- Update WordPress: Navigate to Dashboard > Updates and install any available updates.
8.Enable Debugging to Identify Errors
If none of the above works, enable debugging to identify the root cause.
- Edit wp-config.php:
Add the following lines to enable debugging:
define( 'WP_DEBUG', true );
define( 'WP_DEBUG_LOG', true ); - Check the Debug Log:
Locate the debug.log file in the wp-content folder and review the error details.
Conclusion:
These steps can help you fix common image upload errors in Divi. Checking file permissions, PHP limits, plugins, and WordPress settings can solve most upload problems.
It is also a good idea to keep Divi, WordPress, and your plugins updated. Regular maintenance can help prevent similar issues in the future.
If the problem continues, contact Elegant Themes support or your hosting provider for help.
Contact us to get more information about it.